How to Back Up Photos: A Three-Copy Plan You Can Check
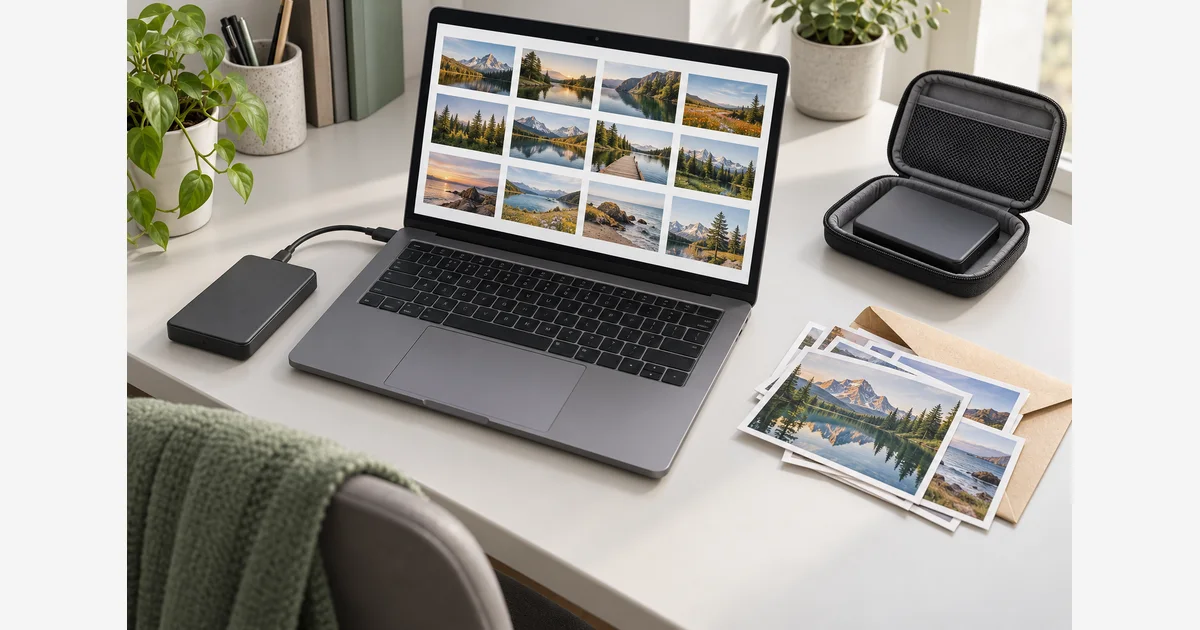
To back up photos, keep your full-resolution originals in a known location, copy them to a separate backup destination, and keep another recoverable copy away from the same home or computer. Check that you can restore files before you delete anything from a camera card or phone.
A useful starting point is the 3-2-1 approach: three copies in total, two kinds of storage media, and one copy off-site. The National Archives recommends this structure for family digital archives. The important part is that one failure or mistake cannot remove all your usable copies.
1. Find what you need to back up
Start with a list of locations: camera imports, your phone library, scanned family photographs, edited exports, and any editing catalogs. The folder named “Pictures” may not contain all of them. A catalog file or a grid of thumbnails is not proof that you have the original image files.
| Item | Why it matters | Check |
|---|---|---|
| Camera and scan originals | They are the source for future edits and prints. | Can you open the full-size files while the card or scanner is disconnected? |
| Edits and deliverable exports | An original alone may not preserve the finished version you shared. | Have you saved the versions that matter to you? |
| Catalogs and sidecar files | They may hold edit instructions, organization, and other work. | Does the editing application's own backup include originals, or only its catalog? |
| Phone library originals | Space-saving settings may leave smaller local versions. | Have the full-resolution originals actually been downloaded or exported? |
For example, Adobe says Lightroom Classic's catalog backup does not include the original photo files. Back up both if you need both. Keep the application's version and restore instructions with your inventory.
2. Choose a plan with independent copies
Here is one concrete arrangement for a household photo collection. It assumes the computer uses an SSD and the two external devices are hard disk drives, so it uses two media types. The off-site drive is brought back for updates on a schedule that matches how much new work you can afford to lose.
Working library
Full originals on the computer's SSD, plus the edits you need.
Local backup
Versioned backup on an external HDD. Disconnect it safely when it is not needed.
Off-site backup
An encrypted external HDD stored somewhere separate, with the recovery key kept accessible and separate from the drive.
A cloud backup service with suitable retention can replace the off-site drive in many practical plans, but verify what it retains, how deletions are handled, and how a full restore works. You normally cannot inspect the provider's physical media, so do not assume that an SSD plus an unspecified cloud account proves two media types. The goal remains independent failure protection and a recoverable off-site copy.
Two drives beside the same laptop are still exposed to the same theft, fire, or flood.
When selecting hardware, use our external SSD comparison and external hard drive comparison to check capacity and connection options. Buying another drive does not complete the plan until you have made and verified the copy.
Know what each arrangement protects
| Arrangement | Useful for | Still needs attention |
|---|---|---|
| A second folder on the same drive | Keeping a convenient working duplicate | The drive is still one failure point. |
| A separate external drive | A second physical copy | A connected drive can be affected by mistakes or malware; a local drive is not off-site. |
| Cloud sync | Keeping a library available across devices | Edits and deletions may sync. Check recovery windows and maintain an independent copy. |
| Versioned backup | Recovering a retained earlier state | Retention, destination capacity, completed runs, and restore access still matter. |
Apple documents that changes in iCloud Photos also change the library on other devices. Useful syncing is not the same thing as an independent copy you can recover after every kind of deletion.
3. Make the first backup without removing the source
- Choose the destination. Make sure it has room for the current collection and the history you plan to retain. Do not format a drive that contains files you still need.
- Select the actual source locations. Include any photo folders on other disks, not only the computer's default library.
- Copy or run the backup. A one-time folder copy is a useful start; a scheduled, versioned backup is easier to keep current. Read the completion result rather than assuming that plugging in a drive was enough.
- Verify and record. Note the source, destination, date, and any skipped files. Investigate errors before calling the job complete.
- Keep the source until the copies are checked. Moving the only folder onto an external drive relocates the collection; it does not make a second copy.
Mac users can start with Apple's Time Machine setup guidance. On Windows, Microsoft's File History guidance explains choosing a backup destination and restoring earlier versions. Whichever route you use, confirm that the folders you actually use are included.
For photos stored in iCloud, use Apple's instructions for downloading or exporting copies and verify the originals before treating a local folder as complete. For any cloud provider, check RAW files, videos, edited versions, and metadata that matter to your collection.
4. Try a small restore
A backup is useful when you can retrieve it. Restore a few files into a new test folder rather than overwriting the working library. Pick an older image, a recent image, a large file, and an edited file. This is a practical sampling routine, not a guarantee that every file is intact.
- Open the restored files in an application that supports their formats.
- Check pixel dimensions, visible content, and any metadata you need.
- If you use versioned backup, recover an earlier version of a disposable test file.
- Repeat a sample restore from the off-site destination and confirm you have the login or decryption key.
- Record the result and the date of the oldest copy you would need if the computer disappeared today.
The CISA/MS-ISAC ransomware guide recommends offline, encrypted backups and regular recovery testing. For a home collection, keeping one copy disconnected and knowing how to unlock it are concrete steps you can take.
A copy inventory you can actually maintain
Download the photo backup inventory and restore checklist (.txt)
Choose an update interval based on the work at risk. After importing an important shoot, make and verify copies before reusing the card. If you are digitizing family prints, finish the backup for each checked batch rather than waiting until the entire collection is scanned.
For application-specific work, use the Mac Photos library move checklist, iPhone original-export checks, and Lightroom Classic catalog and image recovery worksheet. The organization workflow helps keep source batches and finished versions identifiable.
Before the next shoot, the SD speed-class guide helps match the recording mode, and the photo-capacity calculator estimates remaining space. Neither replaces the independent copies and recovery checks described here.
Sources
- National Archives: Digitizing Family Papers and Photographs
- Apple: Set Up and Use iCloud Photos
- Apple: Make Copies of Information Stored in iCloud
- Apple: Back Up Your Mac with Time Machine
- Microsoft: Backup and Restore with File History
- Adobe: Back Up Lightroom Classic Catalogs
- CISA/MS-ISAC: Ransomware Guide (PDF)
Frequently Asked Questions
-
If you remove the source, you have moved your only copy. A backup leaves another recoverable copy available independently of the working collection.
-
It keeps photos available across devices, but changes and deletions can propagate through the synced library. Keep an independent copy, understand recovery limits, and verify that any downloaded or exported files are the full originals you need.
-
No. Adobe states that the catalog backup does not include the original photo files. Protect both the catalog and the source image locations if you need your originals and editing work.
-
Choose a schedule based on how much new work you can afford to lose. After an important import, make and verify copies before reusing the card. Record when the off-site copy was last updated so an older drive does not create a false sense of coverage.