Transfer Photos from iPhone to an External Hard Drive
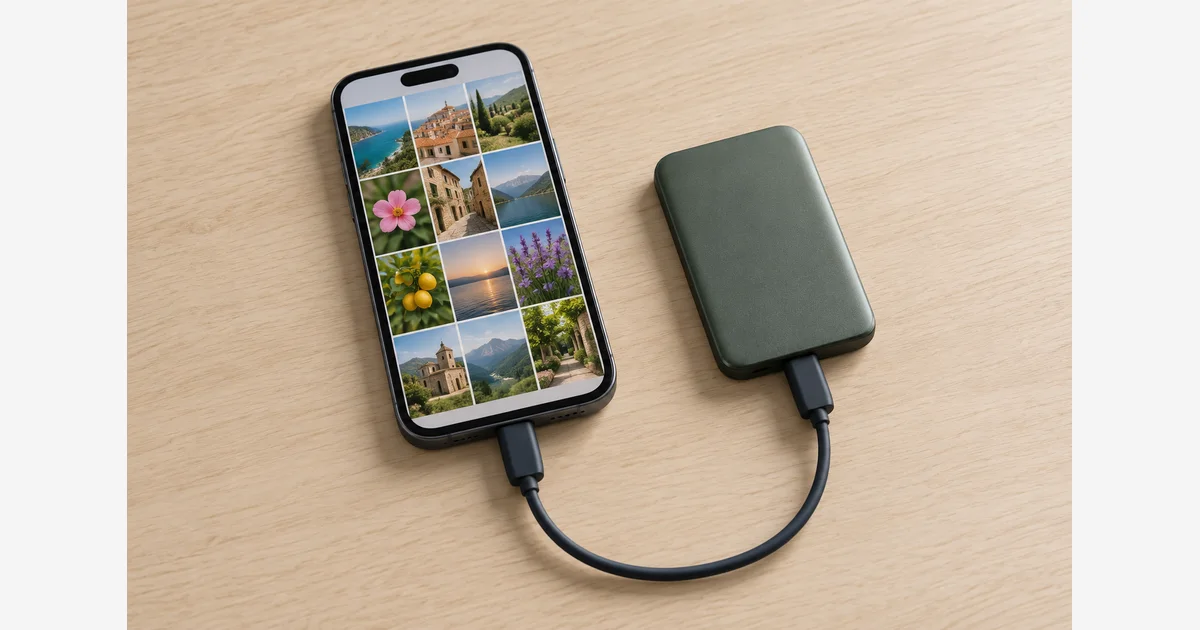
To transfer photos from an iPhone to an external hard drive, connect a supported drive, confirm that it appears in Files, then select images in Photos and use Share > Export Unmodified Original. Choose the external device under Locations and save a small test batch before starting a large transfer.
That route exports originals, including the original version of an edited photo. It does not create a complete restorable Photos library or preserve every album and edit relationship. Keep the phone and any existing originals while you verify the exported files and make another independent copy.
Check the drive, cable, format, and power
Apple's external-storage guide requires a single data partition and lists supported formats including APFS, Mac OS Extended, exFAT, and FAT variants. The format must also suit the computer you intend to use afterward. These are file-export requirements; they are different from the requirements for hosting a Mac Photos library.
For an iPhone with USB-C, use a suitable data cable or adapter. For Lightning, use a compatible storage/camera-adapter connection. Apple notes that hard drives often need external power: a powered USB hub can serve an appropriate USB-C setup, while its Lightning example uses a Lightning to USB 3 Camera Adapter connected to USB power. Do not assume that the connector shape establishes data support or enough power.
Open Files, tap Browse, and look under Locations for the drive; tap Browse again if needed. If it is missing, resolve recognition before opening a large photo selection. Follow the device and adapter documentation for your exact combination rather than buying a hub solely because its plug fits.
For hardware planning, compare external SSDs or external hard drives by supported connection, power, and capacity. A drive's desktop performance specification does not establish its speed or compatibility on your iPhone.
Decide which version of the photograph you need
| Goal | Plan | Check before relying on it |
|---|---|---|
| Keep the captured or imported original | Use the unmodified-original export. | Original format, dimensions, video playback, and selected scope. |
| Keep the appearance of an edited picture | Also save an appropriately rendered version using a documented export workflow. | The actual edit, output size, format, and metadata of that version. |
| Retain a Mac Photos collection with its organization | Maintain and back up its library, not just an arbitrary folder of exports. | Library opens, originals are available, and important organization is retained. |
Apple explicitly describes the direct export as unmodified. If you need both original data and a favorite crop or color edit, keep separate original and rendered-output folders. On a Mac, Photos offers original-format export and selected-format export; test the chosen output rather than assuming the two commands preserve the same thing.
If iCloud Photos is involved, allow access to the full-size items before judging the transfer. Apple's download guidance describes saving iCloud originals to a chosen Files destination. Internet access and local working space can matter during this stage; a visible thumbnail is not proof of a completed original download. Avoid changing the whole phone's storage policy without checking its available capacity.
Export a small, varied batch first
- Make a recognizable destination. In the external drive, create a folder such as
iphone-export-2026-11-01-batch01. Do not mix a new attempt with an ambiguous earlier transfer. - Choose representative items. Include an ordinary still, an edited image, a video, and a Live Photo if you use them. Note what you selected.
- Export from Photos. Select the items, open Share, and choose Export Unmodified Original. In the save view, navigate to the external device under Locations, choose your test folder, and save.
- Let the operation finish. Keep the connection and power stable. Do not disconnect during the transfer.
- Inspect the destination. Open Files and then check the same folder on the computer that will use the archive, if available.
- Scale up in identifiable batches. Use dates or albums as selection boundaries and record completion and any errors for each batch.
The command sequence follows Apple's iPhone export procedure. Menu names and export options vary with software.
Check scope deliberately. Apple notes that a locked Hidden album is excluded from the direct transfer. A normal selection is not an assertion that every private, shared, or separately stored item is included. Identify any omitted material and use the relevant Apple instructions intentionally rather than treating this workflow as a whole-account archive.
Verify files rather than trusting the progress indicator
Download the iPhone photo transfer and verification log (.txt)
For the pilot, inspect every selected item. For a large batch, reconcile what was selected with the output and spot-check across its beginning, middle, and end. Sampling helps reveal problems; it cannot prove every file is sound.
- Open the actual file. Check image dimensions and inspect detail, rather than only looking at a cached thumbnail.
- Play video. Check duration, picture, and expected audio at more than one point.
- Understand companion files. Apple's Mac original-export documentation describes Live Photos as separate still and video files. Examine your actual output and keep related components together; selected Photos-item count and exported file count need not match one for one.
- Check the edited sample. Confirm that an original export does not mistakenly stand in for the edited appearance you wanted to keep.
- Record failures explicitly. Note missing items or unreadable files and repeat them into a separate retry folder without silently overwriting earlier output.
For additional copies of already exported files, a backup tool with content verification or a recorded checksum comparison can help detect byte differences. That is a file-copy check, not proof that the original export included all library information.
Troubleshoot the symptom you can observe
| Symptom | First check | Preserve |
|---|---|---|
| No device under Locations | Data connection, supported partition/format, unlock state if relevant, and documented power supply. | All existing drive contents; do not erase as a first experiment. |
| Small batch works, larger one fails | Free space, stable power, long-video handling, and access to iCloud originals. | The successful batch and a written list of what still needs copying. |
| Computer cannot open an exported image | Whether the computer supports that file type and whether the file is complete. | The native original; create a compatible derivative separately if needed. |
| Saved image lacks the edit | Whether you used unmodified-original export. | Both the original and the intended rendered version. |
If recognition remains unreliable, use a supported computer-based workflow rather than repeatedly attempting an unverified full-library transfer. Our Mac library migration guide covers a different goal, and the organization guide helps structure the files you exported.
Before deleting anything to free phone space, make another independent recoverable copy and understand syncing. Apple warns that deleting an item with iCloud Photos enabled also removes it from iCloud and other synced devices. Complete the backup and restore check before making a separate cleanup decision.
Sources
Frequently Asked Questions
-
Check the documented data connection, power, supported format and partition layout, and any device-specific access requirements. Preserve existing drive contents rather than erasing as the first experiment.
-
It exports the original version. If you also want the edited appearance, save and verify a separate rendered version through an appropriate documented export workflow.
-
A selection of exported files is not a restorable library with all of its organization and editing relationships. Decide whether you need individual files, a library backup, or both.
-
First verify the export and another independent recovery copy. With iCloud Photos, deletion also affects iCloud and synced devices, so treat cleanup as a separate decision.