Home Photography Studio Setup: Plan the Space Before the Kit
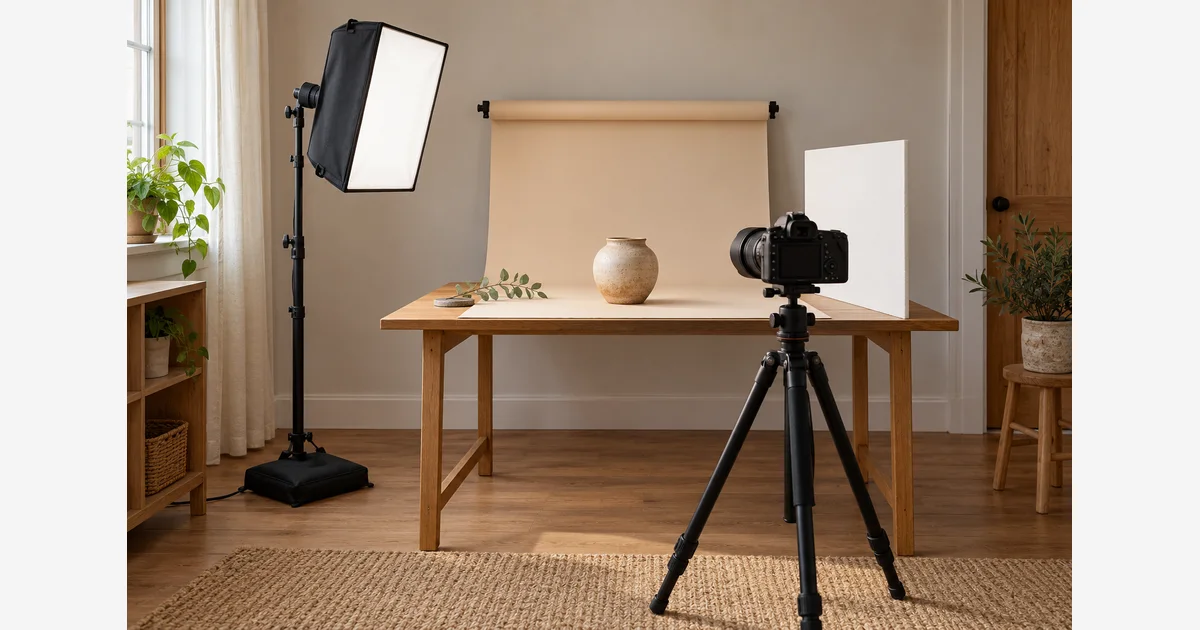
Plan a home photography studio around one repeatable assignment and the space needed to move safely around it. A tabletop product setup, a seated portrait, and a full-length portrait demand different room dimensions, backgrounds, and light placement. Start with the largest subject you actually need to photograph.
You can build a useful first setup with a camera or phone, one controlled light source, a background, and a reflector. Add equipment when a specific test reveals a limitation. This guide's room worksheet helps you discover that limitation before buying a large kit.
Measure usable space rather than floor area alone
Draw a simple floor plan with doors, windows, furniture, outlets, and a clear route through the room. Then add subject, background, camera position, light/reflector, and the full stand footprints. A room's square footage does not tell you whether your chosen lens frames the subject from the available distance.
| Measure | Why it matters | Practical check |
|---|---|---|
| Camera-to-subject distance | Controls available framing and viewpoint. | Try the actual focal length; do not rely on a room-size rule. |
| Subject-to-background distance | Affects visible shadows, separation, and background control. | Move a trial subject and inspect the result. |
| Ceiling and modifier clearance | Limits light height, angle, and open modifier size. | Include the mount and stand, not only the light head. |
| Stand and walking footprint | Keeps supports and movement compatible. | Mark footprints before opening the full kit. |
| Window and wall influence | Changes light direction, color, and spill. | Test at the intended time of day. |
For lens planning, use the working-distance trial and equivalent-view calculator. A wider view may fit more of the room but changes what surrounds the subject; it is not a free substitute for every distance constraint.
Build a small, controlled first setup
- Choose a stable surface or subject area. For tabletop work, a simple background sweep can hide a hard corner. Secure supports as directed by the equipment maker.
- Choose one main source. A window can be useful when changing daylight is acceptable. A continuous light lets you inspect its effect and can serve video; flash requires compatible triggering and exposure setup.
- Shape the light. Try suitable diffusion and a reflector rather than adding a second powered source immediately. Compare modifier size, spill, and room clearance.
- Control competing light. Check unwanted room lamps and colored wall reflections. Set or reference white balance for the actual subject light.
- Stabilize the camera where useful. For stationary products, a supported camera makes framing comparisons easier. Moving people still need appropriate shutter speed and focus.
- Keep the floor and heat clearances usable. Route cables away from the working path; follow load, ballast, ventilation, and modifier compatibility instructions for the exact equipment.
Adobe's product-photography guide describes the value of a controlled environment and the changing nature of natural light. A window setup can be an excellent deliberate choice; repeatability is the factor to test when you need a matched series on different days.
Test the setup before an important session
Photograph a representative subject, not an empty background. Check the frame edges, background shadow, highlight shape, color, focus, and working clearance. For a person, test the poses and movement actually planned. For a product, test its most reflective surface and readable detail.
Take a setup photograph and record camera settings, light power/mode, modifier, distances, and reference frame. Rebuild the arrangement later and compare the result. This original repeatability exercise reveals whether the setup depends on an unrecorded window condition or a tiny placement detail.
Let the failed requirement choose the next purchase
- Too much background spill: test placement, flags, or a suitable grid before another light.
- Inconsistent daylight: consider a controlled source and a repeatable room-light plan.
- Not enough space: try a smaller subject/setup, different framing, or a different room before a larger modifier.
- Video noise or flicker: test the light at the actual camera settings and audio distance; read model-specific behavior.
- Slow setup: improve storage, marks, and a short setup checklist before multiplying accessories.
Download the home-studio space and repeatability plan (.txt)
For exact equipment, compare lighting kits and LED panels. For the next practical exercise, use the one-light product sequence.
Sources
Frequently Asked Questions
-
There is no useful universal room size. Subject size, viewpoint, lens, background separation, light clearance, and walking space determine the requirement.
-
Yes, when its direction and variability suit the assignment. Test at the planned time and record conditions if you need repeatable results.
-
No. Start with a source and suitable reflector or diffusion, then add a light when a specific requirement remains unmet.
-
Save positions and distances, camera settings, light mode and power, modifier, reference frame, room-light conditions, and a setup photograph.