AI Tracking Camera Setup: Configure, Rehearse, and Keep a Fixed Fallback
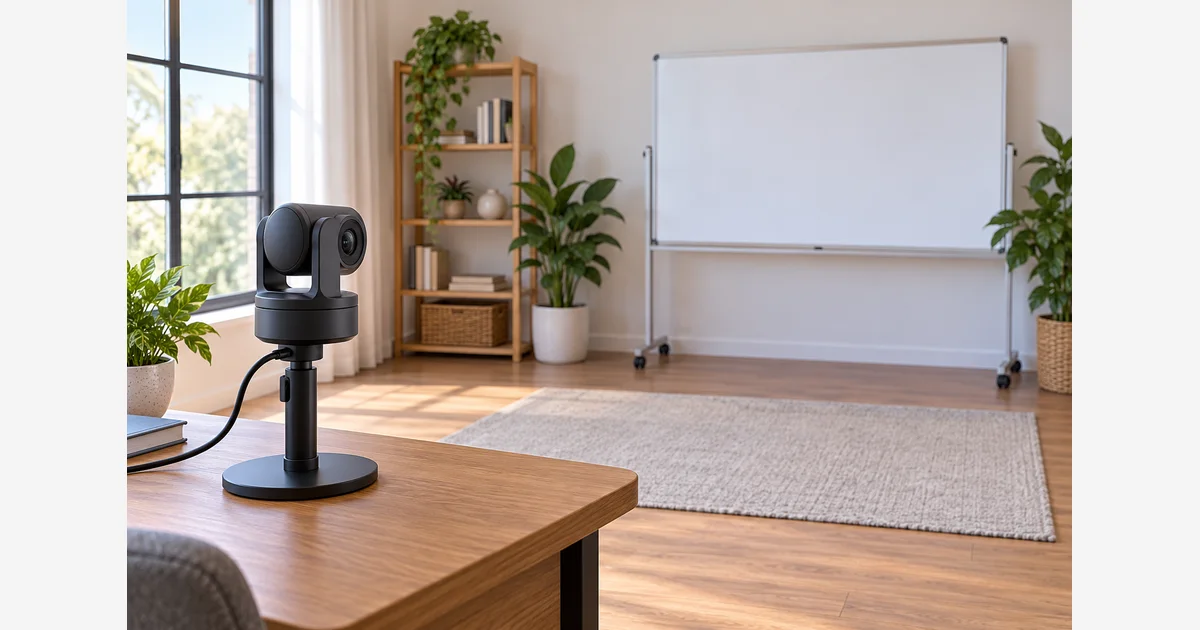
Set up an AI tracking camera by defining what it should follow, where you will move, and which application receives the final picture. Then rehearse the actual movement in that application. A tracking box in a control app does not prove that the audience receives a useful composition.
Start wider than the tightest possible headshot and keep a quick way to stop tracking or return to a fixed view. The purpose is a usable recording or presentation, not constant camera movement.
Different products use “tracking” differently
| Type | What changes | Verify |
|---|---|---|
| Motorized pan/tilt camera | The camera physically turns within supported limits. | Mount, clear movement, framing, cable slack, and subject support. |
| Digital auto framing | A crop moves or changes size inside the available image. | Remaining detail, view limits, and the actual output resolution. |
| Phone gimbal with tracking module | The mounted phone is steered using the supported tracking system. | Phone fit, module generation, app route, subject support, and balance/setup. |
| Whiteboard or desk mode | A specific surface or composition is selected or corrected. | Whether it is a separate mode, how it is configured, and whether tracking stops. |
The OBSBOT Tiny 2 manual describes a two-axis PTZ webcam and software-assisted functions. That is a model-specific example, not evidence that all “AI webcams” physically pan or track the same subjects.
Similarly, DJI's original OM Multifunctional Module manual distinguishes its system/third-party camera route from tracking in DJI Mimo. Match the exact module generation and supported combination; do not combine instructions from later models into one invented universal feature list.
Build the setup in the final application
- Record the combination. Note camera, firmware, control software, operating system, connection, and recording/meeting app.
- Mount securely. Follow the product's placement instructions, leave supported mechanical movement clear, and keep cables from pulling the mount.
- Establish a manual view first. Set a useful fixed composition with space for gestures or demonstrations. Check light, exposure, focus, and the actual feed.
- Select the right input. Confirm whether the destination uses the physical camera or a vendor virtual-camera output. Select only the route required by the supported workflow.
- Enable one intended automatic behavior. Choose supported subject tracking or framing. Begin with a moderate view; add gesture/voice controls only if useful.
- Set boundaries or presets if supported. Use the exact model's controls. Do not assume an option seen in another camera's tutorial exists on yours.
For webcam quality before tracking, use the lighting-to-delivery diagnostic. A tracker cannot restore detail lost to a dark room or heavy digital enlargement.
A six-action rehearsal
| Action | Watch in the received/recorded output |
|---|---|
| Move to both intended edges | Comfortable headroom and no clipped gesture or object. |
| Approach and step back | Framing, focus, and useful detail after any zoom. |
| Turn toward a board or demonstration | Whether the camera follows the intended subject or loses the task. |
| Briefly leave and return | Reacquisition behavior and the resulting empty-room view. |
| Introduce another person | Whether the intended presenter remains selected. |
| Stop and restore a fixed view | A quick, reliable recovery without guessing at controls. |
Perform this with the actual lighting, background, clothing, and app route where practical. Record unexpected behavior, then change one setting.
Treat presentation modes and recovery as separate tasks
A whiteboard mode is not the same as following a face. Insta360's Link-series documentation distinguishes recognition-marker and supported Smart Whiteboard routes, with model restrictions. Configure and rehearse the intended mode instead of expecting a face tracker to infer the lesson.
Save a suitable fixed view or know the supported stop control. Disable unwanted gestures if your ordinary presentation movements trigger them. Check what the product's sleep, privacy, and recording controls actually do; do not treat “tracking off” as “recording off.”
Download the setup and rehearsal record (.txt)
For hardware planning, compare tracking phone mounts or conference webcams using the supported application and task. A compatible tripod or mount and a rehearsed fixed fallback can matter as much as the AI label.
Sources
Frequently Asked Questions
-
No. Some mechanically pan and tilt; others adjust a digital crop. Check the exact model and its available view.
-
Only if the exact device, mode, firmware, and software support that subject. Human tracking does not establish object or animal support.
-
No. It is a separate presentation task with its own setup and model restrictions. Rehearse the intended mode in the final application.
-
Use the supported stop or fixed-view fallback, then check subject selection, lighting, movement limits, app route, and any zone settings. Record and repeat the failed movement before an important session.