How to Set White Balance: A Reference-Card Workflow
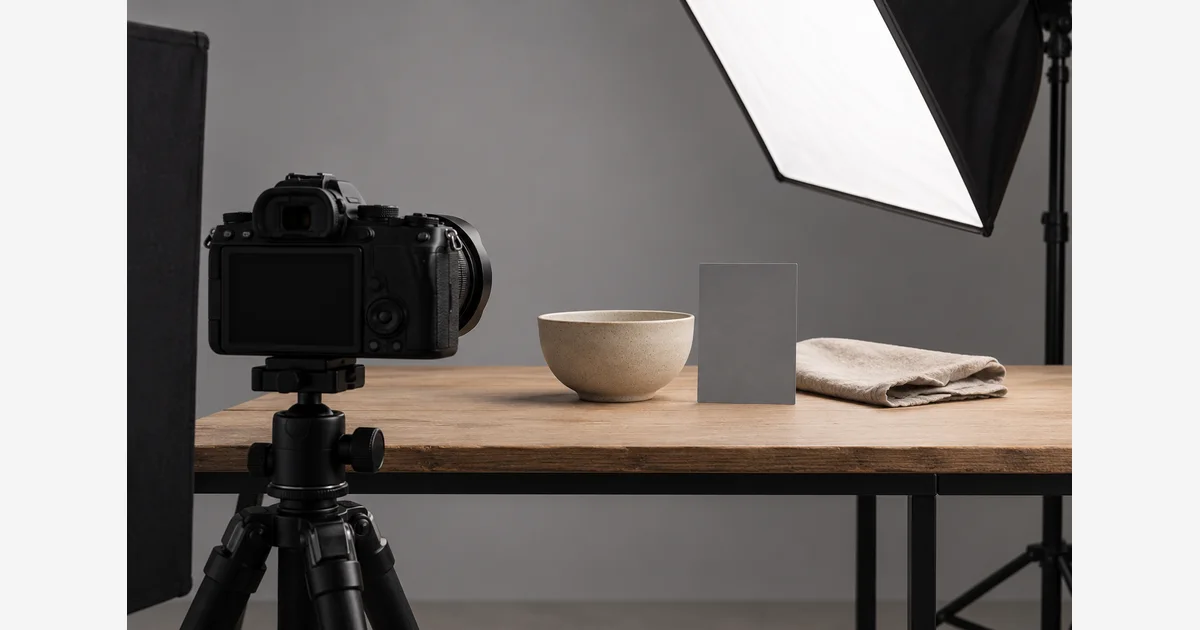
Set white balance for the light falling on the subject, then keep it consistent while that light stays consistent. Auto is useful when conditions change; a preset, Kelvin setting, or measured custom reference can provide a steadier starting point for a series.
A neutral result is a choice, not the only acceptable look. Decide whether you need faithful product color, consistent skin tones, or the warmth of an evening scene before trying to remove every visible color cast.
Auto, preset, Kelvin, or custom?
| Method | Useful situation | Check |
|---|---|---|
| Auto white balance | Changing scenes or a quick starting point. | Whether successive images shift when composition changes. |
| Named preset | A repeatable approximation for a familiar source. | Actual LED, window, shade, or flash may differ from the preset. |
| Kelvin setting | Deliberate warm/cool adjustment and consistency. | Green/magenta tint and mixed sources may need separate treatment. |
| Custom reference | A controlled series under stable light. | Neutral target, subject lighting, exposure, and exact camera procedure. |
Nikon's white-balance guide describes presets, Kelvin choices, and reference readings while emphasizing that camera procedures vary. Use the manual for the exact menu and target-filling requirements.
Use a neutral card in the subject's light
- Finish the lighting arrangement first. Place the subject and decide which source or combination is meant to light it.
- Place a suitable neutral reference nearby. It should receive the same relevant light as the subject, with no colored spill or glare. A random gray object or white sheet is not necessarily spectrally neutral.
- Expose a usable reference. Follow the card and camera instructions. Avoid a clipped, deep-shadowed, tiny, or heavily reflected target.
- Set custom balance if required. Use the manufacturer's capture/sample procedure, then confirm the custom setting is actually selected for subsequent photographs.
- Keep a reference frame. Include enough of the target for later sampling, then remove it from the final composition.
- Repeat when the light changes. Moving from window light to a lamp, adding a gel, or changing rooms is a reason for a fresh reference.
Datacolor's reference-card instructions likewise place the card in the subject's lighting and avoid glare. Its in-camera and post-processing routes serve related purposes; a reference shot does not automatically change the camera's selected white-balance mode.
One global setting cannot make every different light neutral
If a face is lit by a warm room lamp on one side and daylight on the other, one overall white-balance setting can leave different casts in different areas. Start by simplifying the light: switch off an unwanted source, move the subject, or use intentionally matched lighting where feasible.
For a reference, prioritize the light on the important subject. Local editing can sometimes help, but a single gray-card click does not guarantee that mixed sources or poor spectral reproduction are solved. Kodak's gray-card guidance treats the reference as a baseline tied to a lighting scene, not a substitute for lighting decisions.
Kelvin is a warm/cool axis. A green or magenta cast is not necessarily fixed by changing only that value. Keep any tint adjustment and lighting change in the record instead of repeatedly swinging color temperature back and forth.
Review a series, not only the reference card
Compare familiar colors, skin if present, and intended mood in a color-managed viewer. Inspect consistency across the series. If you are delivering JPEGs directly, check in-camera output before the important capture; RAW offers a different degree of development flexibility, explained in RAW vs JPEG.
For a controlled product series, save the reference, light settings, and camera balance together. For an evening portrait, keeping some warm ambient character may be intentional. State the aim so that “neutral” does not silently become “better.”
Download the white-balance and lighting record (.txt)
For editing consistency, see monitor calibration. For equipment, compare neutral reference cards. For an actual setup, use the one-light product workflow.
Sources
Frequently Asked Questions
-
It is a useful starting point in changing conditions. For a matched series under stable light, a deliberate fixed or custom setting may be more consistent.
-
It may provide an approximate visual reference, but ordinary paper or gray objects are not guaranteed spectrally neutral. Use a suitable target when repeatable color matters.
-
Not everywhere. Different parts of the subject can receive differently colored sources. Simplify or match the lighting first when possible.
-
No. The camera’s supported sampling procedure and selection of the saved setting are separate steps. A reference frame can also be used later in a supported editor.