Why Are My Photos Blurry? A Retake-Based Diagnostic
Start with the pattern of blur, not a new lens. A moving subject, a moving camera, misplaced focus, and an undersized export can all look “soft,” but they need different fixes. Compare the original file with the version you are actually viewing before changing camera settings.
This guide gives you a repeatable diagnosis: inspect one file, identify the likely cause, then change one variable in a controlled retake.
What does the blur look like?
Open the full-size original in a compatible viewer. Inspect the intended subject, a stationary detail at a similar distance, and something in front of or behind it. Record shutter speed, aperture, focal length, and focus mode from the capture settings when available.
| Visible clue | Likely explanation | Next useful check |
|---|---|---|
| Stationary edges smear in a similar direction | Camera movement during exposure. | Repeat with secure support and a shorter exposure. |
| Background sharp, moving person smeared | Subject movement. | Increase shutter speed; support alone cannot freeze the person. |
| Another distance looks sharp | Focus landed elsewhere, or the sharp zone is too shallow. | Check the chosen subject and focus behavior; repeat without recomposing. |
| One eye sharp, the other soft | Depth of field and face angle may matter. | Focus on the intended eye and test a smaller aperture, while protecting shutter speed. |
| Only the shared copy looks soft | Resize, compression, or display magnification. | Compare original pixel dimensions with the export. |
| Haze or patches without a clear sharp plane | Possible condensation, dirty external glass, flare, or another optical issue. | Inspect accessible surfaces and shooting conditions before assuming a focus fault. |
These are clues rather than definitive fault codes. Sony's whole-image blur guidance separates camera shake and subject motion; its focus troubleshooting also explains why a sharp background does not by itself prove that a camera needs adjustment.
Make a simple, controlled retake
- Keep the original. Work with a duplicate for editing and record the settings. Do not overwrite the file you are diagnosing.
- Use a still, detailed subject in good light. A book cover or textured object works for a practical check. Choose a flat detail facing the camera and avoid glass glare.
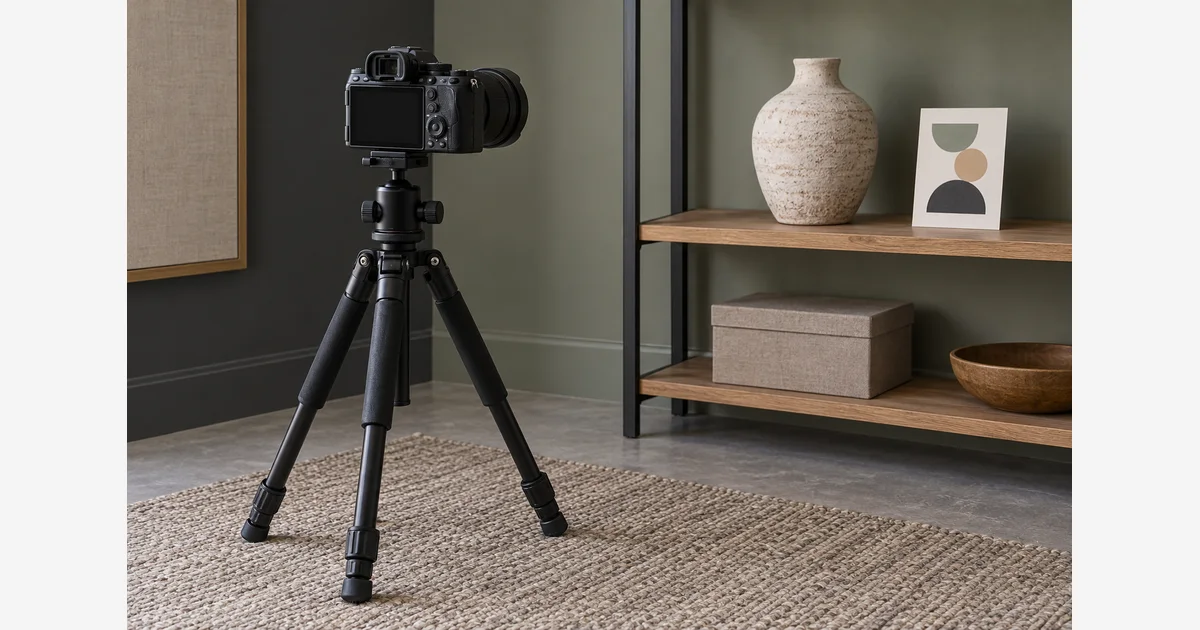
- Stabilize the camera safely. Use a secure tripod or other suitable support. Follow the exact camera and lens manuals for stabilization on a tripod; behavior varies.
- Choose a specific focus target. Use a suitable single-shot focus setup for the stationary target, or carefully magnified manual focus if supported. Avoid placing the target closer than the lens can focus.
- Remove obvious movement. Use a timer or appropriate remote release and sufficient shutter speed. Do not touch the support during exposure.
- Repeat one change at a time. Compare focus placement, then shutter speed, then aperture. Keep the lighting and output view comparable.
A sharp supported retake suggests that the original shooting conditions deserve attention. A poor retake does not establish a hardware defect: verify target distance, focus, exposure, and viewing first. If a reproducible problem remains, keep the original files and settings for the manufacturer's support team rather than adjusting internal hardware.
When the subject moves, prioritize time and focus behavior
A shorter exposure reduces the time during which movement can smear detail. How short is enough depends on subject speed, direction, focal length, distance, and your intended output. There is no universal shutter speed that guarantees sharp children, pets, sport, and handheld landscapes.
Make a short sequence at progressively faster shutter speeds, maintaining a usable exposure by adjusting aperture, ISO, or lighting. Compare results at the output size that matters. Stabilization can help with camera movement within its limits; it cannot stop a subject from moving.
For a moving subject, check whether continuous autofocus and the selected tracking/subject options suit that camera and scene. Sony describes continuous autofocus for changing subject distance, but names and capabilities differ by model. Practice on a repeatable movement before an unrepeatable event.
A wider aperture may help maintain shutter speed in dim light but can leave less depth looking sharp. Depth-of-field blur is a separate issue from motion. If a group spans several distances, test a smaller aperture and add light or raise ISO as needed rather than expecting a single focus point to make every distance sharp.
If the original is sharp, inspect the delivery chain
Check whether you exported the full resolution or a small preview, whether an app resized it again, and whether the viewer is enlarging it past its useful size. For prints, start with pixel dimensions and print size. For a small source, upscaling can produce more pixels without proving that lost detail has been recovered.
Sharpening changes edge contrast. It is not a substitute for accurate focus or sufficient shutter speed. Keep an unaltered original so that a strong sharpening or AI result does not obscure what went wrong.
Download the blur diagnosis and retake record (.txt)
Use our tripod guide if support is the actual limitation. For framing-related problems, compare 35mm and 50mm working distances before blaming a lens for a view or distance that does not suit the scene.
Sources
Frequently Asked Questions
-
No. It helps stabilize the camera but cannot stop a moving subject, move focus to the right distance, or restore an undersized export.
-
None works for every scene. Subject speed, direction, distance, focal length, support, and intended output all affect the result. Test progressively faster exposures in the actual conditions.
-
The camera may have focused at the wrong distance, or the person may have moved during exposure. Look for motion smear and a sharp plane, then test focus and shutter speed separately.
-
It can increase edge contrast and some tools can create a more plausible-looking result. That does not establish that missing original detail has been recovered. Preserve the unaltered file.