How to Calibrate a Monitor for Photo Editing and Validate the Result
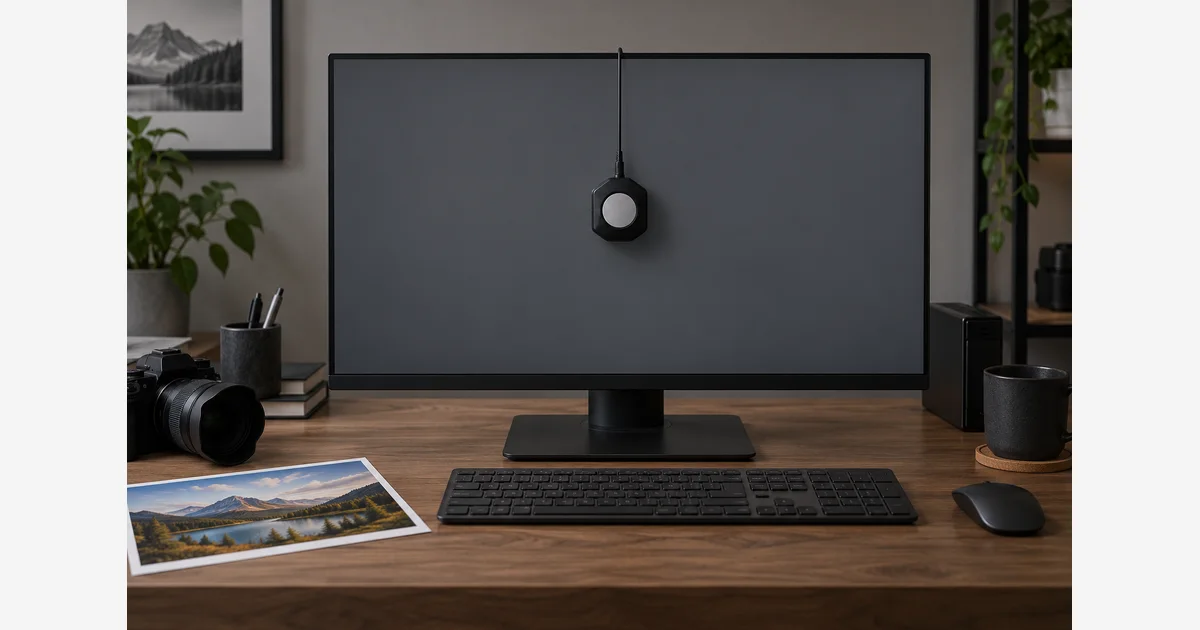
For a measured photo-editing setup, use a compatible calibration device and software, control the viewing environment, then validate the saved display profile. Moving a few sliders by eye can improve comfort, but it does not measure how the monitor reproduces color.
Keep two jobs separate: calibration adjusts the display toward a target; profiling describes its resulting behavior for color-managed applications. The target depends on your workflow, display capabilities, and viewing conditions. There is no single brightness number that makes every room and print match.
Prepare the display and viewing conditions
Adobe's monitor guidance explains calibration and profiling, including allowing the display to warm up and using stable viewing conditions. Follow the monitor and measuring-device instructions for the actual preparation time and supported display technology.
- Choose the editing mode. For an ordinary SDR photo workflow, use the appropriate stable SDR display mode. HDR workflows require their own supported setup; do not apply an SDR recipe blindly.
- Control changing adjustments. Check automatic brightness, night/warm-color modes, dynamic contrast, and other features that alter the display during editing. Record what you change so the setup can be repeated.
- Reduce glare. Keep direct window light and strong reflections away from the screen. Use a reasonably consistent, neutral viewing environment.
- Check compatibility. Match the software, sensor, operating system, and display technology. Hardware-calibration workflows may store adjustments in the monitor rather than relying solely on graphics-card corrections.
- Record the starting state. Note the display mode, brightness setting, connection, and existing profile before changing a working setup.
A device-led measurement sequence
Use the current instructions for your tool rather than copying button names from another package. In Calibrite's manual photography workflow, the user selects the display and technology, chooses a Photo preset, follows brightness measurement prompts, and saves the resulting profile. Its example uses D65; that does not make D65 the only valid target for every specialized output condition.
- Select the exact display to measure. On a multi-monitor system, confirm that the measurement patches appear on the intended screen.
- Choose a suitable preset or documented targets. Record white point, luminance, tone response, and any black-point setting the workflow uses.
- Position the sensor as directed, flat against the screen and away from an obstructing on-screen menu. Do not press hard against the panel.
- Adjust available hardware controls only when prompted. If a target is outside the display's useful range, revisit the target or display mode rather than forcing an unstable result.
- Let the patch measurement finish without changing room lighting or moving the sensor.
- Save the profile with a useful name that identifies the display, mode, targets, and date. Confirm it is assigned to that display.
Restart color-managed applications when required so they pick up the new profile. A display profile describes the monitor; it is not the profile you should arbitrarily assign to every photograph or embed as a delivery color space.
Validate before editing important work
| Check | Useful evidence | If it fails |
|---|---|---|
| Correct profile and screen | Saved profile assigned to the measured display. | Correct the assignment; restart affected apps. |
| Measurement validation | Tool's validation report and stated tolerances. | Check sensor placement, technology selection, and target. |
| Neutral gradients and familiar images | No unexplained cast, clipping, or obvious banding. | Inspect mode, corrections, app color management, and source file. |
| Stable environment | Same light and display controls used for editing. | Remove automatic changes or remeasure after a deliberate change. |
| Multiple screens | Each measured and profiled separately. | Do not copy one panel's measured profile to another. |
A validation result measures defined behavior under specific conditions. It cannot give a limited-gamut display colors it cannot reproduce or prove that every part of the panel is uniform. Record the report rather than claiming that a monitor is now “100% accurate.”
If prints still look wrong, check the whole chain
A print reflects room light while a screen emits light. A useful comparison needs controlled viewing light, the correct printer/paper profile, and the intended color-management path. Do not darken or brighten every source file to compensate for a single uncontrolled viewing condition.
Use the dark-print troubleshooting guide for that chain. Adobe's color-profile explanation distinguishes display, document, and output profiles. Keep those roles visible in your record.
Download the calibration and validation record (.txt)
Choose equipment by supported display technology and workflow using the calibrator guide and photo-editing monitor comparison. Repeat measurement on a schedule appropriate to the equipment and after meaningful setup changes.
Sources
Frequently Asked Questions
-
Visual adjustment can improve comfort or reveal obvious issues, but it does not replace measurement by a compatible device for a characterized photo-editing setup.
-
No. Luminance targets depend on the viewing environment and output workflow. Choose and record an appropriate target, then validate rather than copying a universal number.
-
No. A monitor profile describes the display. Document and output profiles have separate roles; use the delivery workflow’s requested color space.
-
Print viewing light, printer/paper profiles, driver settings, source colors, and display limits all matter. Calibration addresses one part of the chain, not an exact screen-to-paper guarantee.