How to Improve Webcam Quality: Trace Light, Settings, and Delivery
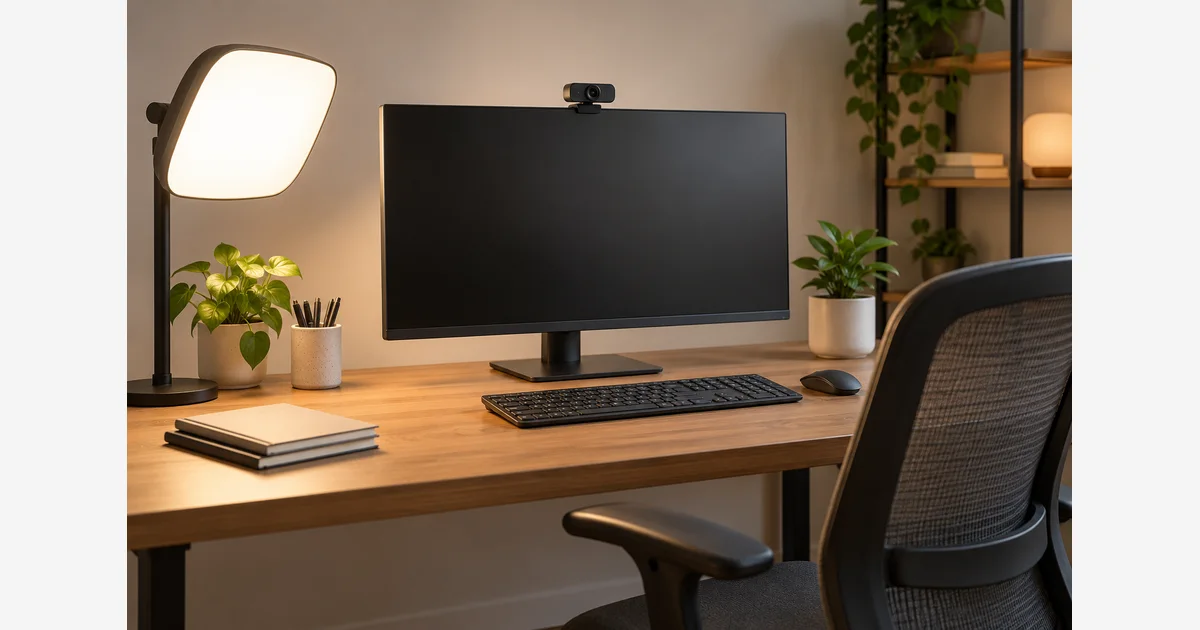
Improve the light on your face, choose a sensible position and exposure, then compare the camera's local image with the actual meeting or recording. A noisy local image and a blocky remote image can have different causes. Work through the chain before replacing the webcam.
Make one short baseline clip, change one thing, and repeat the same movement. Keep a record so the improvement survives the next restart or room-light change.
Find where the quality changes
| What you see | Start with | Useful comparison |
|---|---|---|
| Grain in the local camera image | Light reaching the face and camera exposure/gain. | Same position with a better placed light. |
| Face dark, background bright | Backlighting and metering. | Turn toward suitable front/side light or control the bright background. |
| Hands smear when moving | Exposure duration and actual frame rate. | Repeat the same movement after adding light and changing supported settings. |
| Local image good, meeting image poor | Selected input, app processing, resolution, and network conditions. | Local clip versus received image in the actual meeting. |
| Stutter or connection resets locally | Cable, port, hub, supported format, and system load. | Supported direct connection and a simpler capture format. |
| Image soft only after tight framing | Digital crop/zoom and focus distance. | Wider uncropped framing at the supported distance. |
Fix the face lighting and camera position first
- Clean accessible lens glass appropriately. Use the manufacturer's care guidance; avoid leaving a fingerprint or protective cover in the image path.
- Put a broad source in front and slightly to one side. A window or suitable diffused lamp can work. Control a bright window behind you and check glasses for distracting reflections.
- Set a comfortable camera height. Near eye level is a practical starting point for calls. Use a stable mount and enough distance to avoid an unnecessarily tight view.
- Simplify the background. Remove distracting bright patches and make sure the light remains usable when you move.
- Make the baseline. Record normal speech and hand movement, not only a still pose that hides motion blur.
Elgato's Facecam quality guidance identifies light, exposure, digital zoom, and noise reduction as relevant controls. Its exact ISO and shutter examples belong to that product; do not prescribe them universally to cameras with different controls.
Tune exposure and processing for the actual movement
Start with automatic exposure in a well-lit arrangement. If brightness pumps or the background biases the result, try supported manual controls. Add light before forcing very high gain or an excessively long exposure. A longer exposure may brighten the image while smearing gestures or limiting motion rendition.
Set a repeatable white balance when the light is stable. Inspect skin and neutral objects rather than chasing a perfectly white screen background. Keep color-changing room lights out of the test if faithful color is the aim.
Reduce unnecessary digital zoom. Noise reduction can trade fine detail for smoothness; sharpening can introduce halos. Compare modest changes on a short clip rather than maxing every slider. If the camera offers focus control, use its supported distance and verify that focus stays on you rather than the background.
For flicker or bands, use the camera/light manufacturer's supported anti-flicker settings and test the actual lamp at the intended frame rate and exposure. Mains frequency, LED dimming, and camera timing can interact; one copied shutter number does not solve every light.
A high-resolution webcam does not guarantee a high-resolution call
Check the selected camera in the meeting or recording app, then its actual format and processing. Virtual backgrounds, beauty filters, virtual-camera routes, and heavy system load can change the result. Compare a simple local capture with the destination rather than trusting the camera's advertised maximum.
Zoom's HD documentation makes delivery conditional on account/settings, app, hardware, and bandwidth requirements. An HD checkbox or a 4K camera does not promise that every participant receives that resolution. Check the current requirements for your service and intended meeting format.
With consent where other people are involved, review the received image on the actual service. Compare a quiet scene and normal movement. Record whether degradation begins in the local camera, application output, or remote delivery. Recheck after changing connections or restarting so the chosen input and settings are still in effect.
Download the webcam quality test record (.txt)
Use the tracking rehearsal if automatic framing is part of the setup. Compare webcams and lights after finding the bottleneck; a better-positioned source may solve a different problem from a new camera.
Sources
Frequently Asked Questions
-
The selected input, digital crop, lighting, focus, application processing, service limits, and network conditions can all reduce the delivered result. Compare a local clip with the actual meeting feed.
-
No. A longer exposure can smear movement or affect motion rendition. Add useful light and test supported exposure and frame-rate settings for the actual camera.
-
A bright background can dominate the scene or metering. Improve front/side light and control the background, then check exposure on the face.
-
No. Meeting services impose account, app, hardware, settings, and bandwidth requirements. Check the current service documentation and actual received picture.